Anaglyphs And The HaaS Effect — Lab 8
Published on April 04, 2024.
Anaglyphs are a 3D effect that occurs by closely overlapping two images that have been put through a red-cyan filter to create a cinematic effect. This lab will walk you through the process of creating your anaglyphs.
Introduction
Anaglyphs date back to over a hundred years ago when they were used in film theatres, 3D comic books, and photographs. The word anaglyph has a Greek origin coming from two Greek words; "ana" ( up ) and "glyphien" ( to carve ) translating "to carve up".
Uses Of Anaglyphs
Image Synthesis has a broad application to digital media as it is used in the following ways;
To make solid objects have 3D effects.
To make 3D comic books more realistic.
To map the topography and geology of planets and moons as stereo images.
How Does The Anaglyph Effect Work?
An anaglyph has pairs of the same image overlapping with different colors and a slight offset between the images. Anaglyphs are often in monochrome ( black and white ) and sometimes with other colors.
The paper red/blue glasses for anaglyph images work by allowing only red light to pass through the red lens for one eye while the second blue lens allows only blue light for the second eye to see the same image in blue. This process results in subtractive filtration as the glass lens filters out other colors. As the anaglyph image overlaps with multiple colors, the human eyes will simultaneously see different scenes of the picture.
Lecture Lab Practice
Before you proceed to the hands-on steps within this blog post, below is a preview of the image synthesis result created using the Photoshop software.

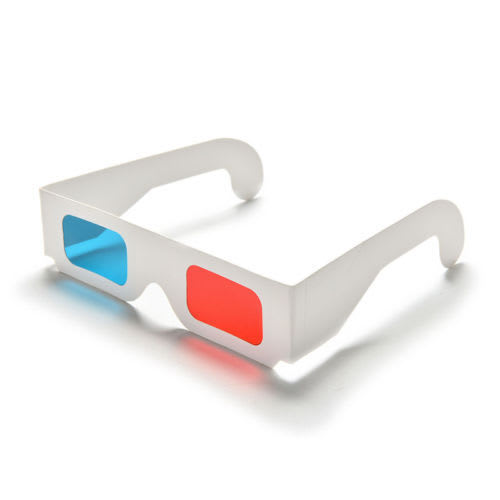
To view the Anaglyph above, you must look through a pair of 3D glasses. Without spending much money, the following paper 3D glasses are cheap to get effective enough to see the effect of anaglyphs on your image;
Creating An Anaglyph In Photoshop
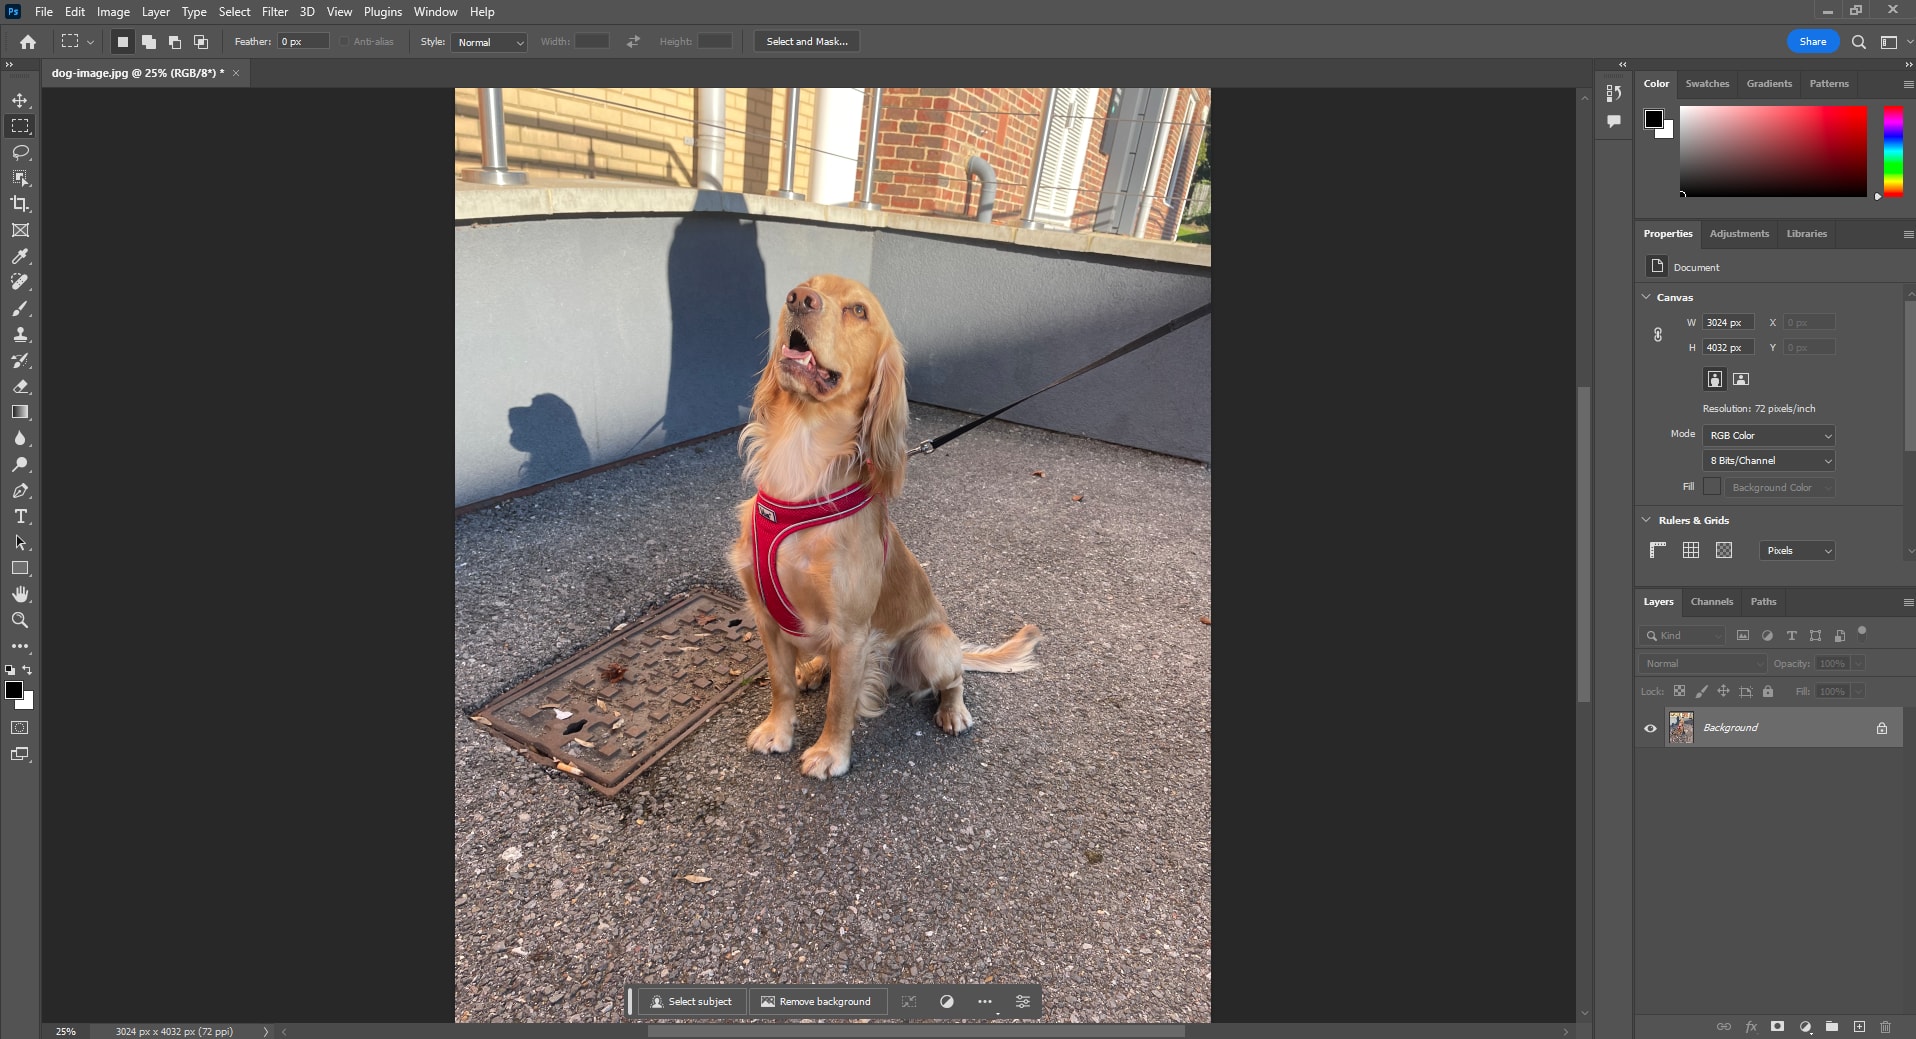
Over the next sections, I will guide you through creating an Anaglyph for the following picture of a dog I snapped outside the Middlesex Sheppard Library.

Step 1 — Opening In Photoshop
Launch your Photoshop application and open your desired image in Photoshop as shown in the following image;
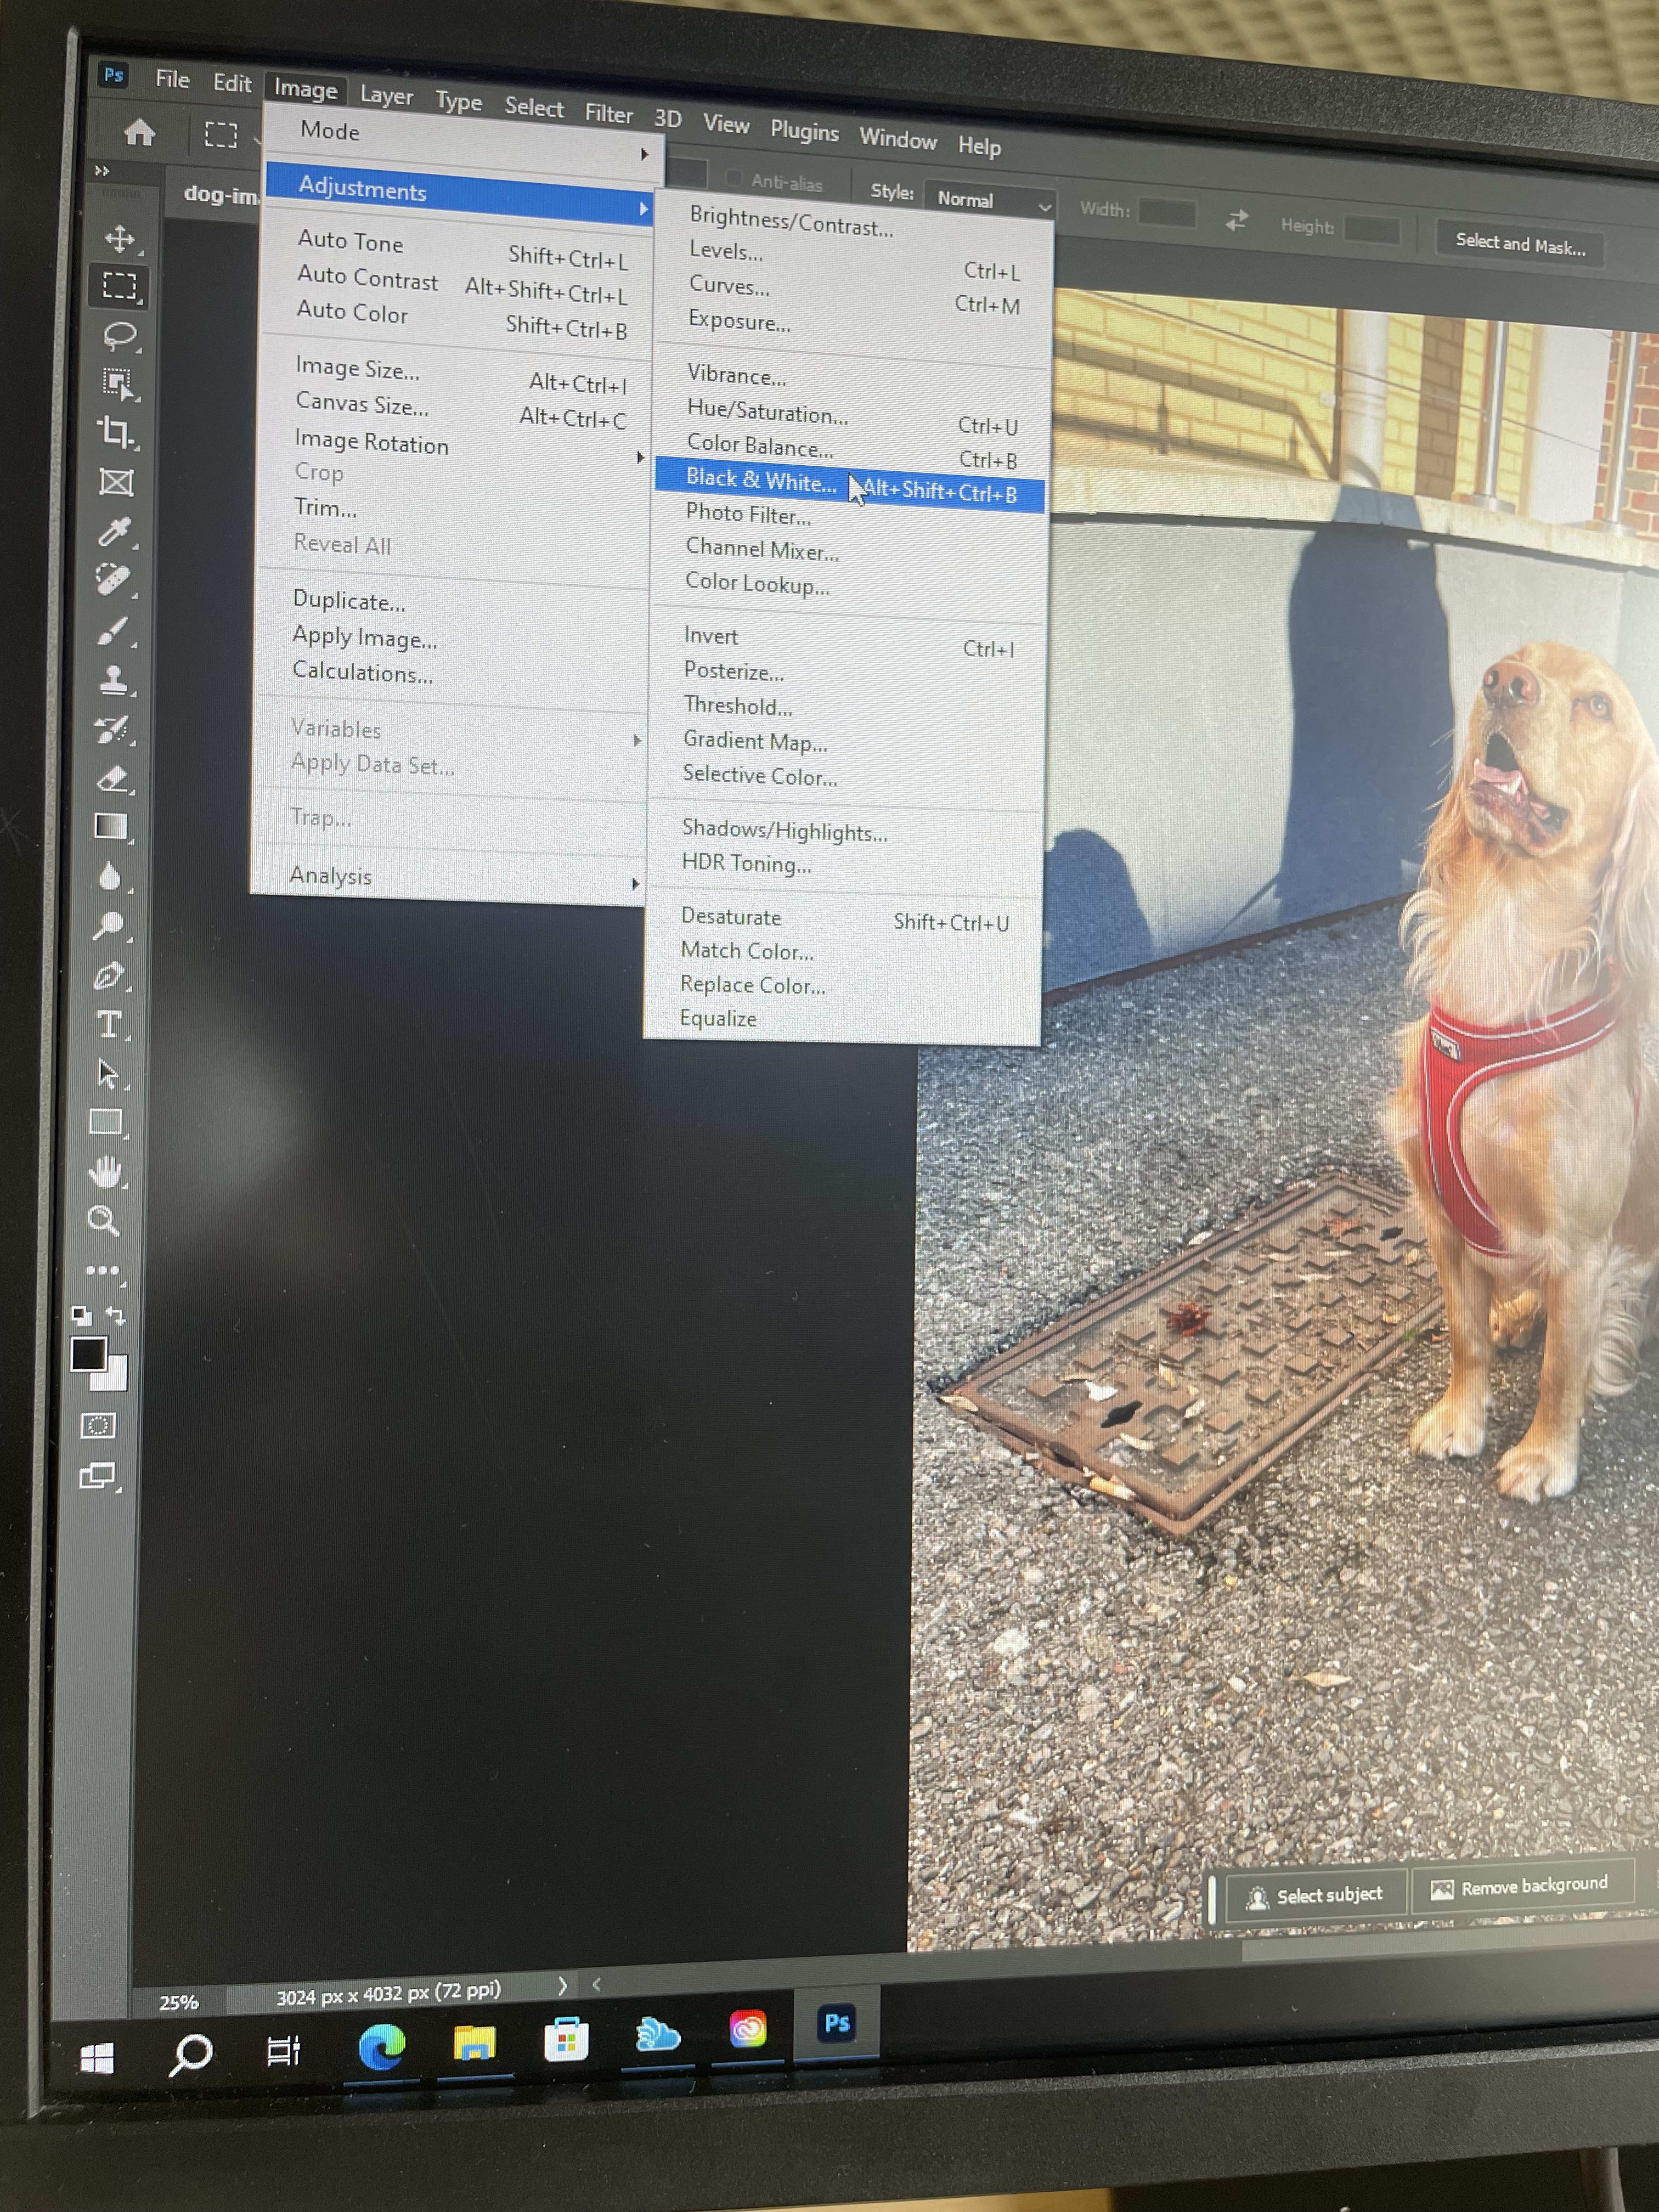
Step 2 — Adjust the Image To Black & White
At the Options menu, click Adjustments > Black & White to convert the image to black and white. You can also hit Alt + Shift + Ctrl + B keys on your keyboard.
Immediately you adjust the image, Photoshop will pop the Black and White window for you to adjust the color settings.
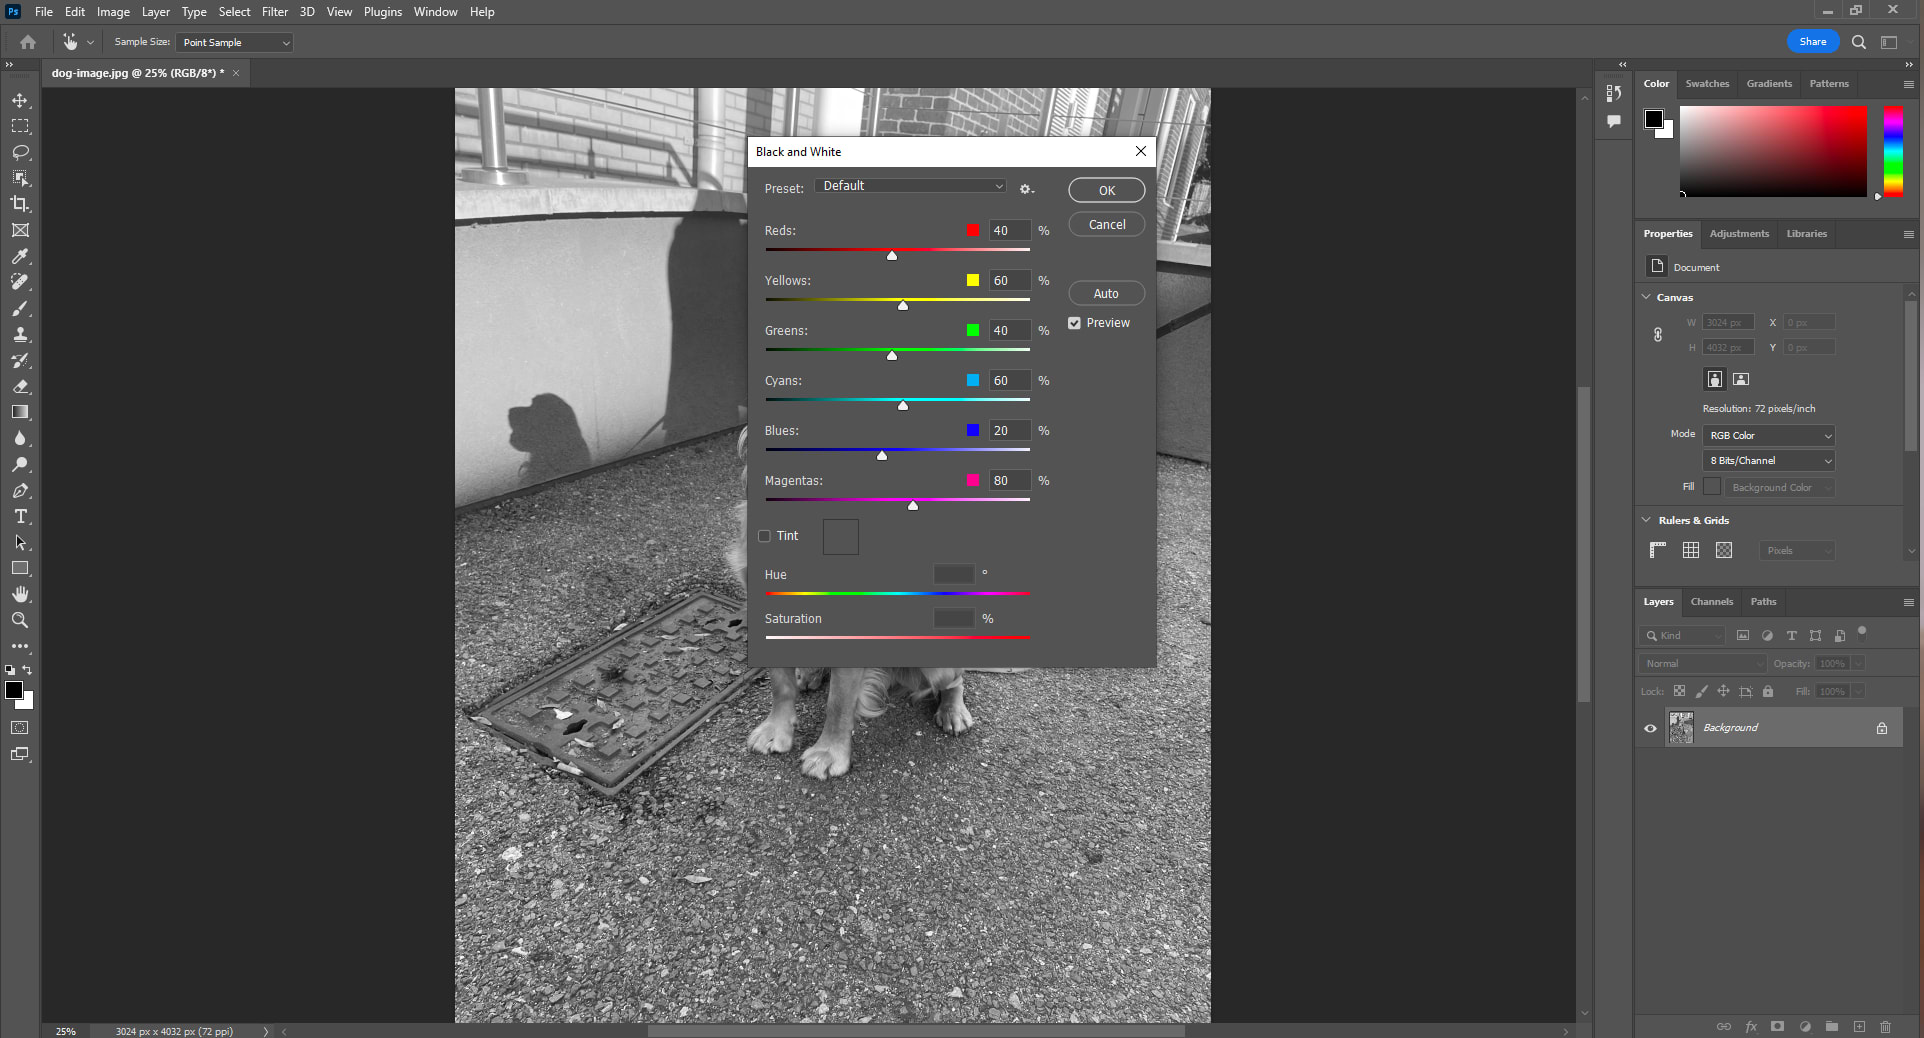
Close the Black and White window as you don't need to adjust it.
Step 3 — Create the Cyan / Red Image Layer
To create various layers of an image in Photoshop, you need to convert it to a Smart Object. Converting an image to a Smart Object in Photoshop unlocks more properties for you to edit.
Click the Image at the right side menu and select the Smart Object item to convert it.
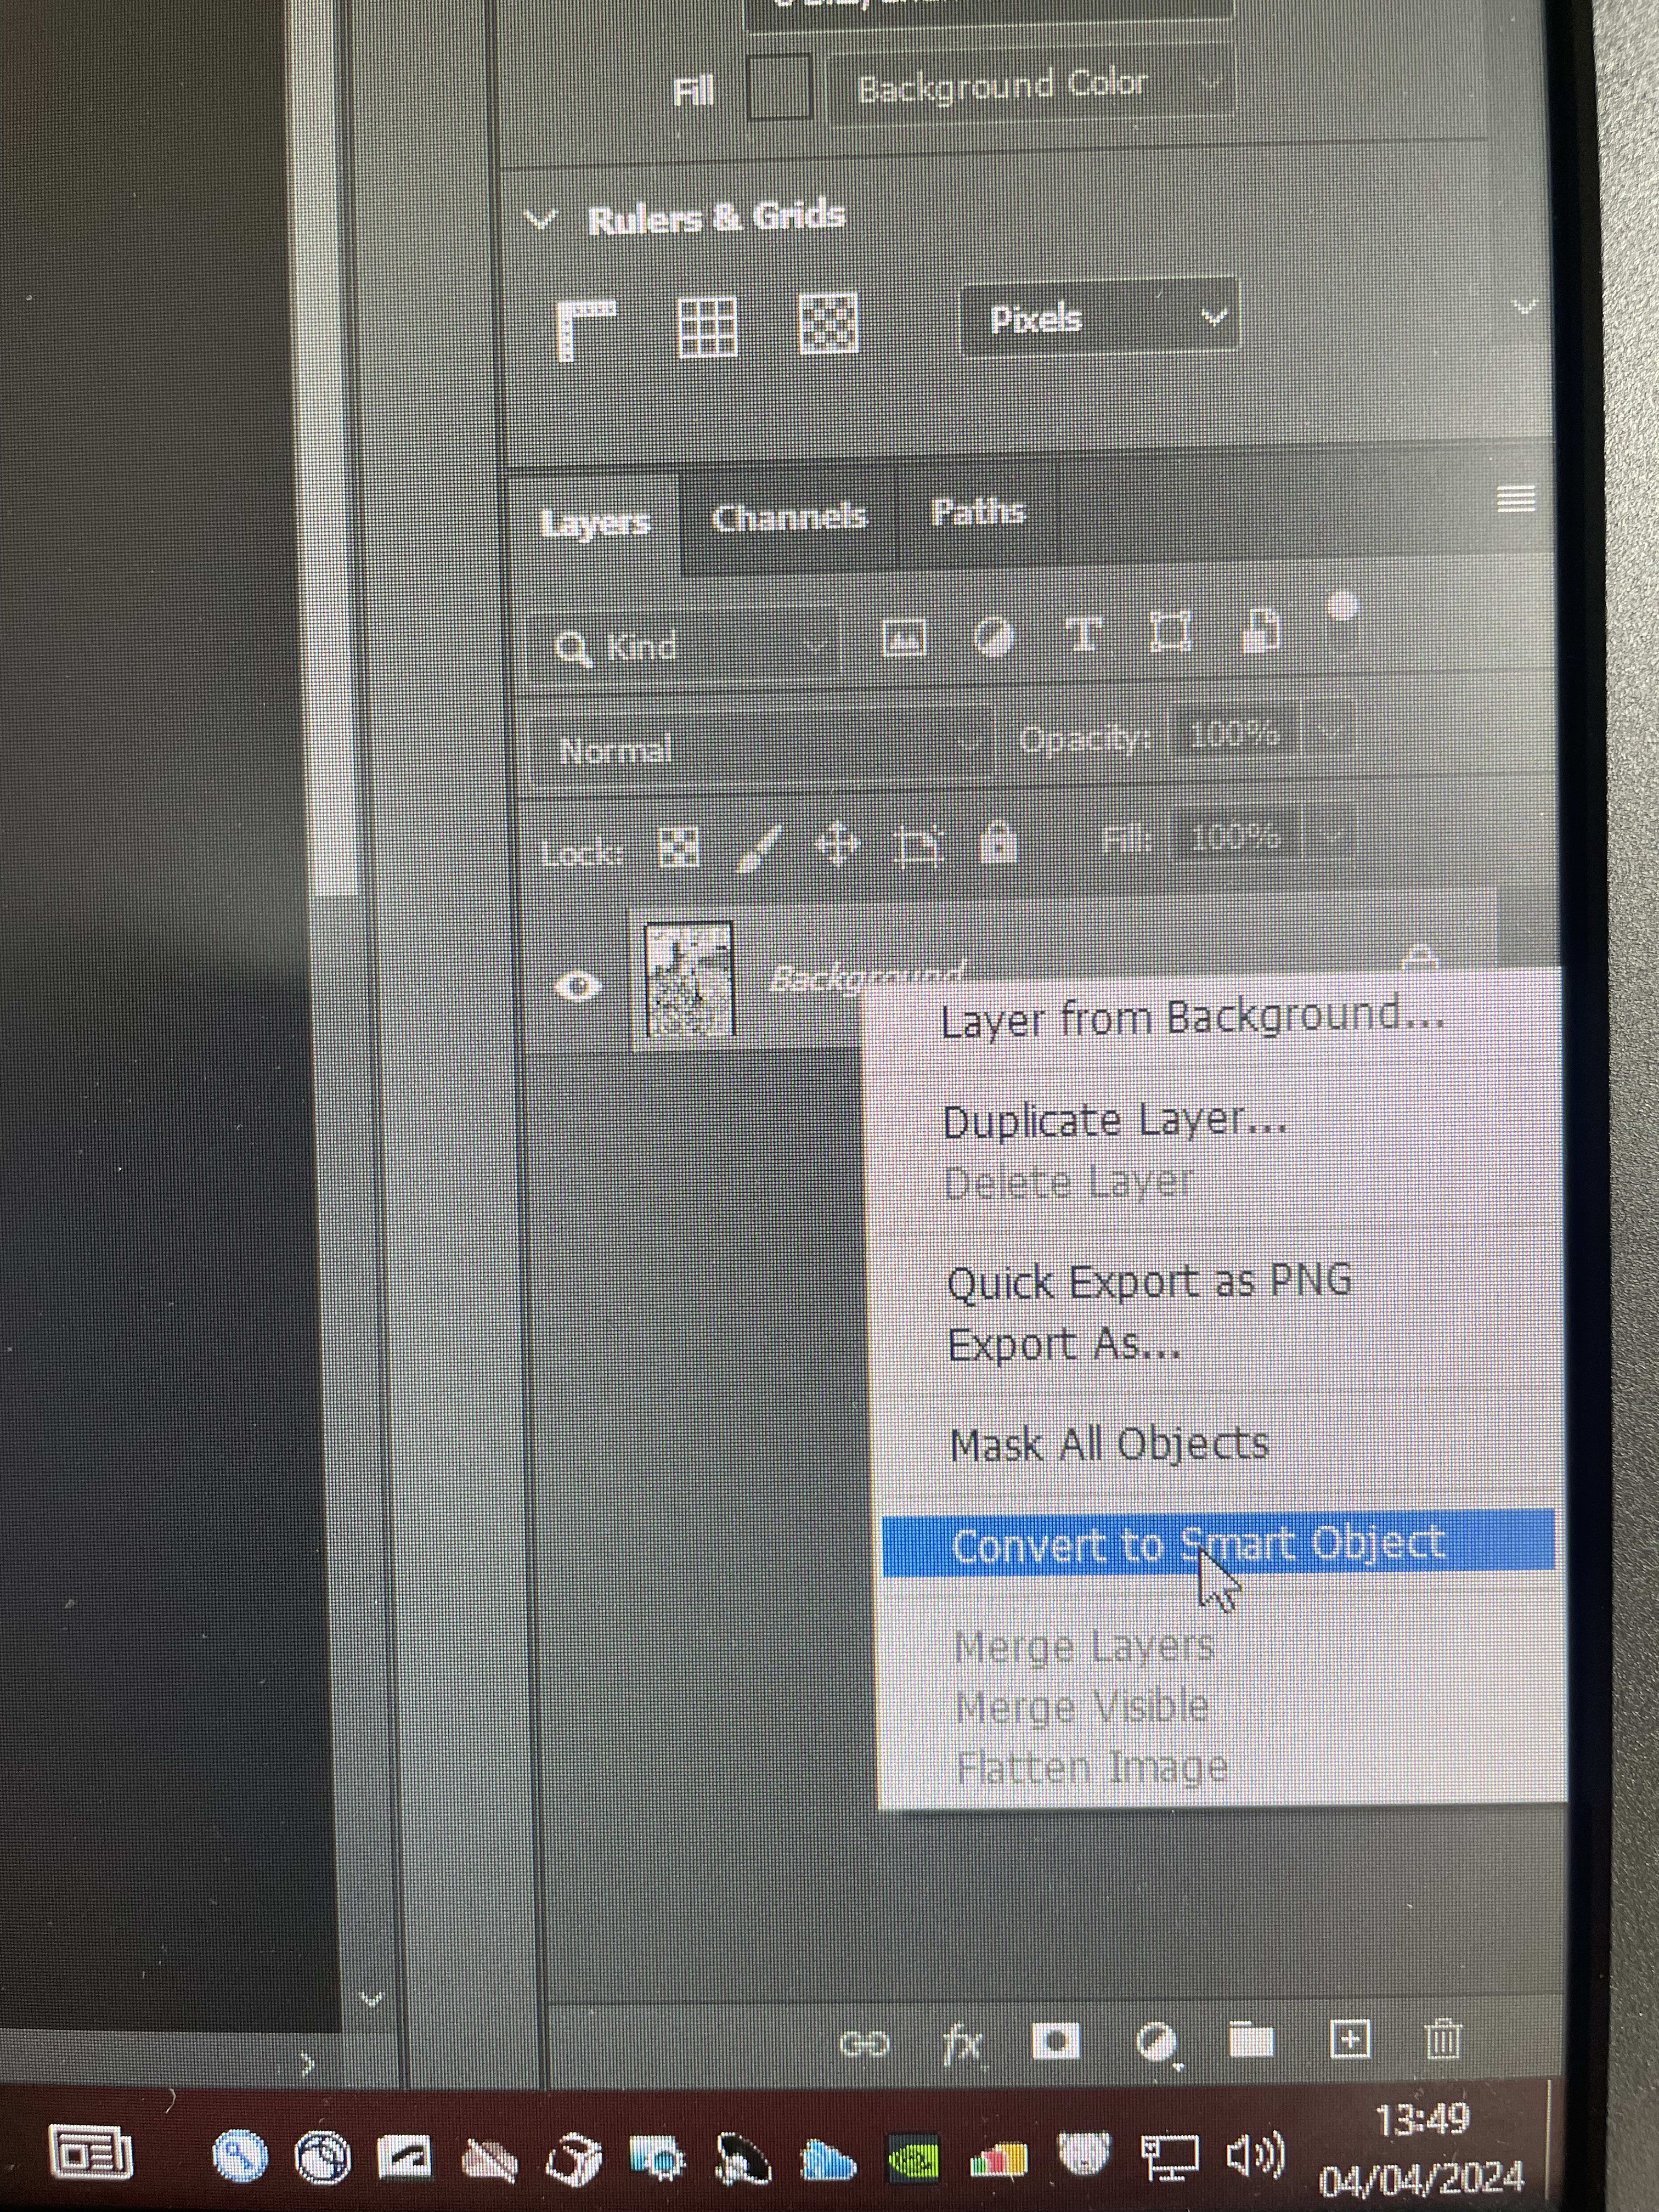
Copy and Paste the image layers twice, leaving you with three layers in total.
The following image now shows the completed anaglyph effect obtained from adjusting the layers of the selected dog image.

You can further customize the image to make the anaglyph more profound by adjusting the layer overlays, shadows, and other properties.
The following image shows an export of the dog image with the anaglyph effect added through this lab in Photoshop. Make sure to put on your 3D glasses to see the effect!
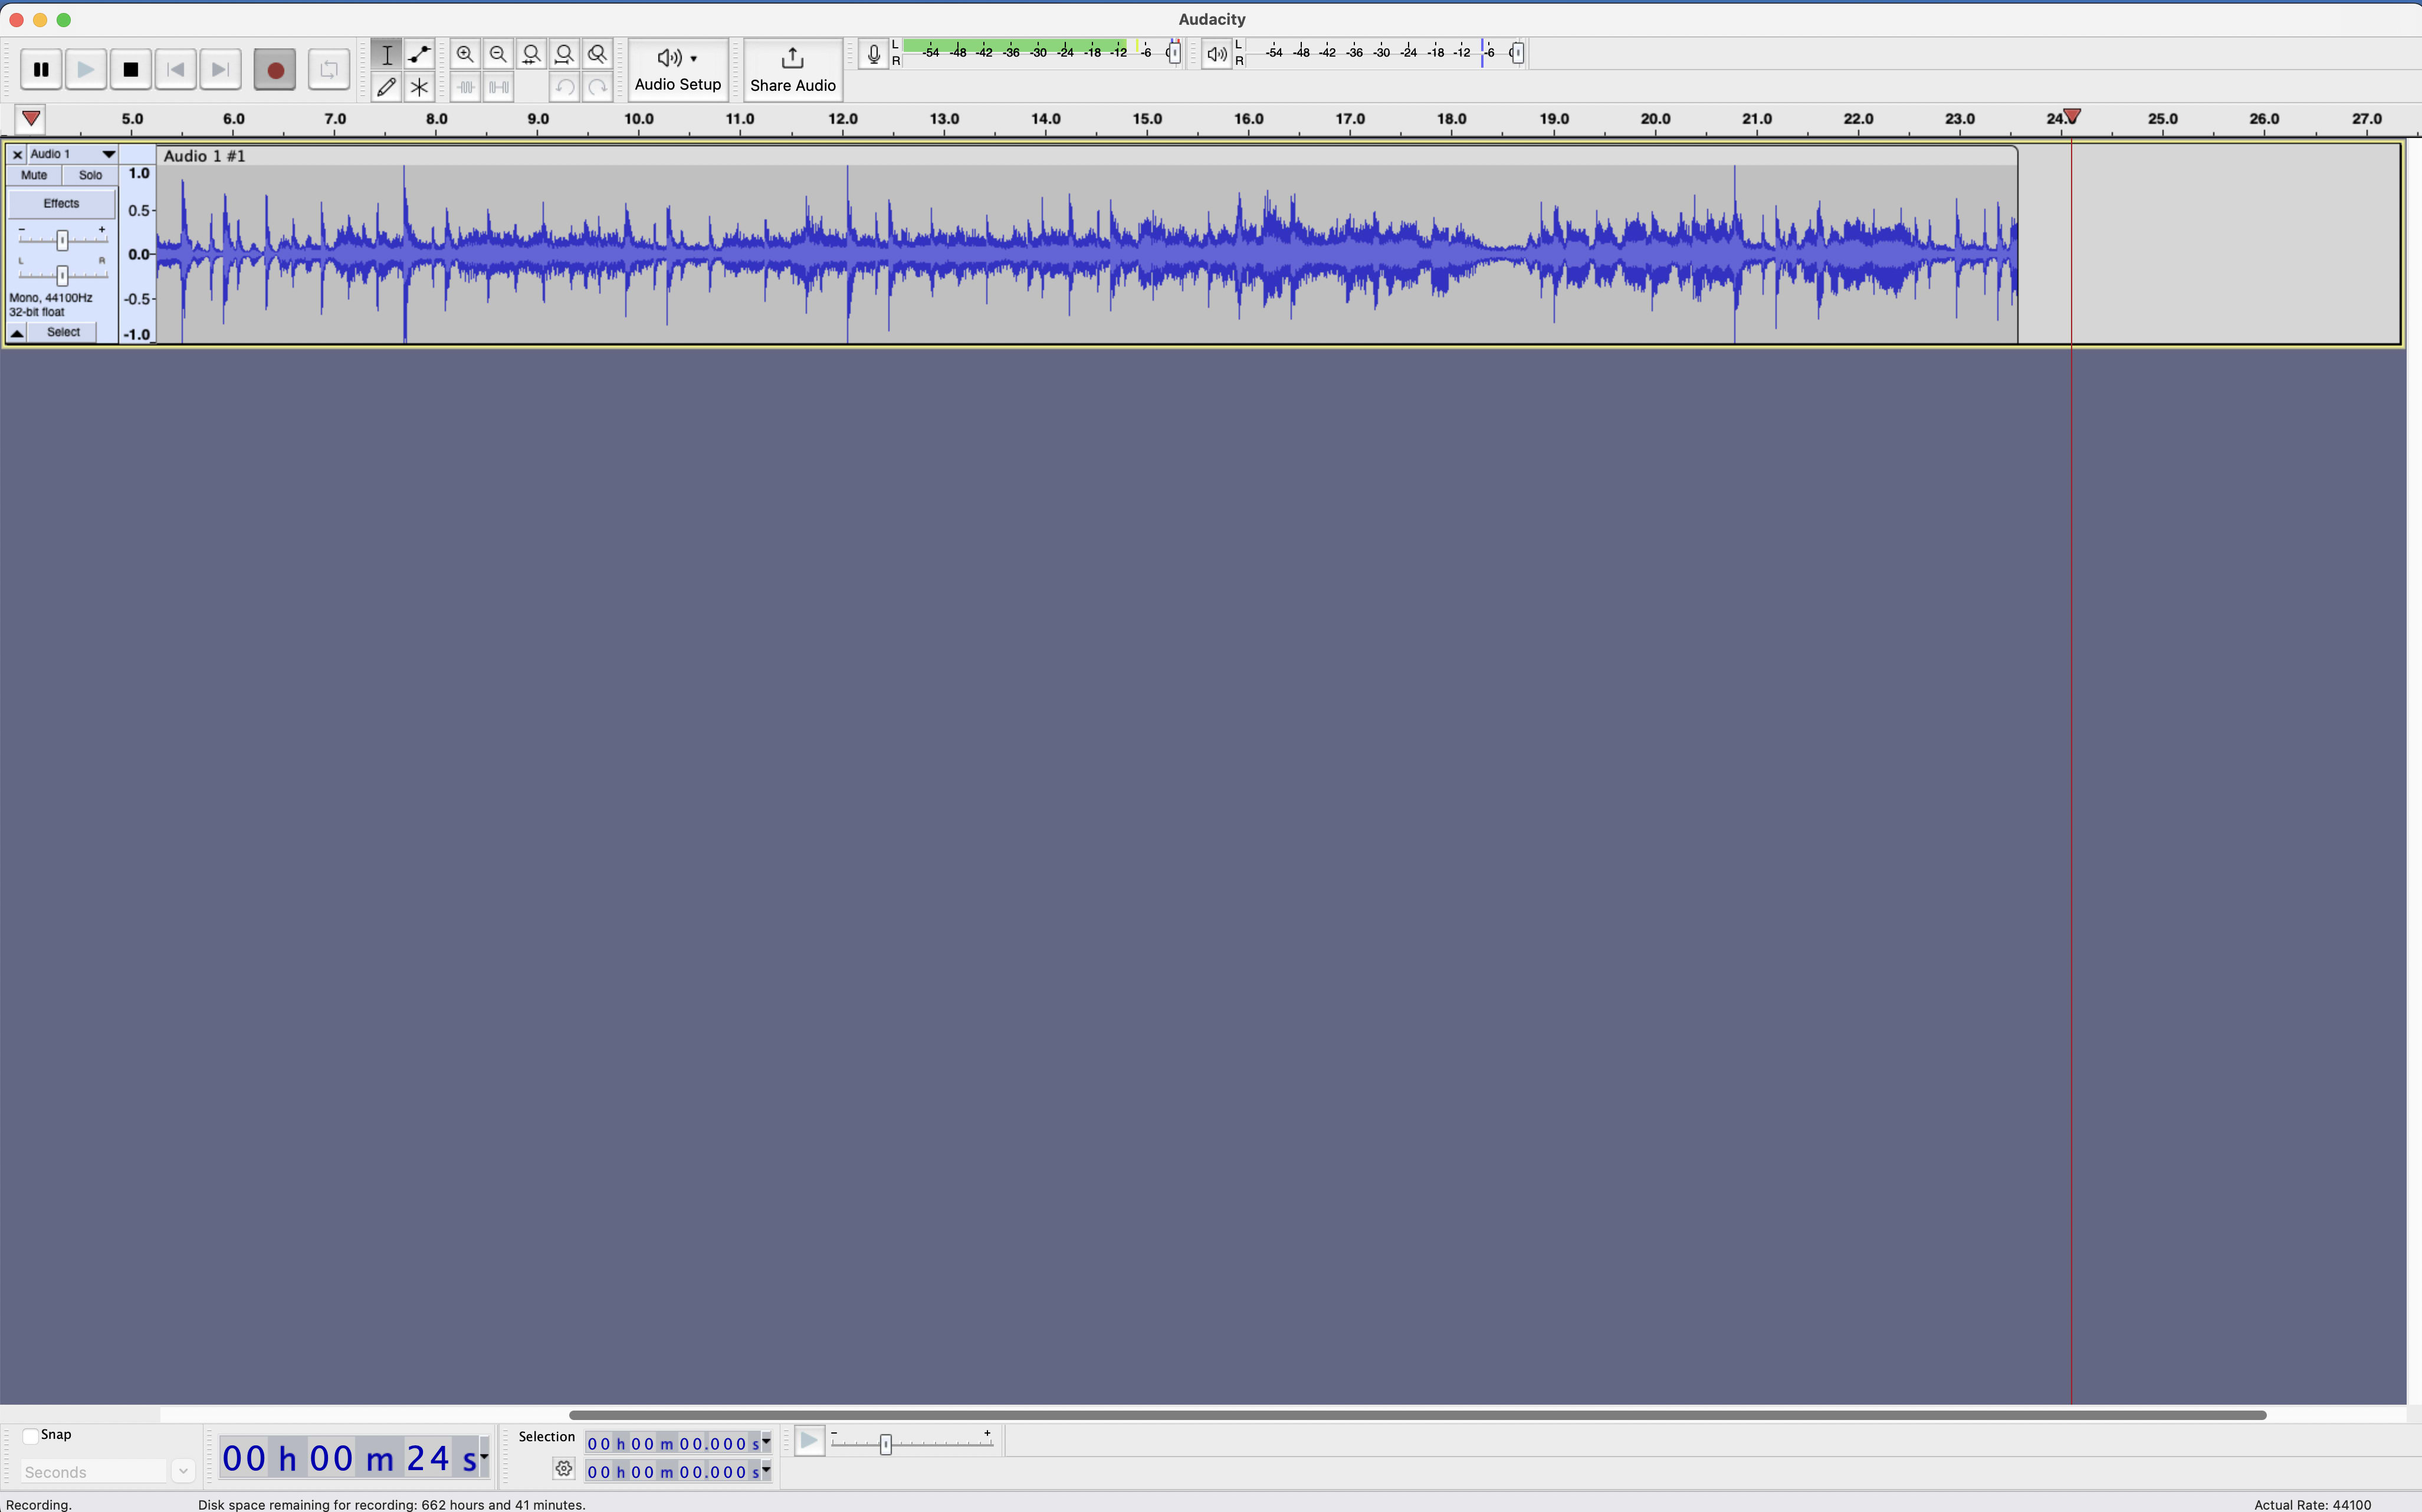
Step 1: Record A Sample Audio
Launch the Audacity software and record a sample audio with a minimum length of 20 seconds as shown in the following image;
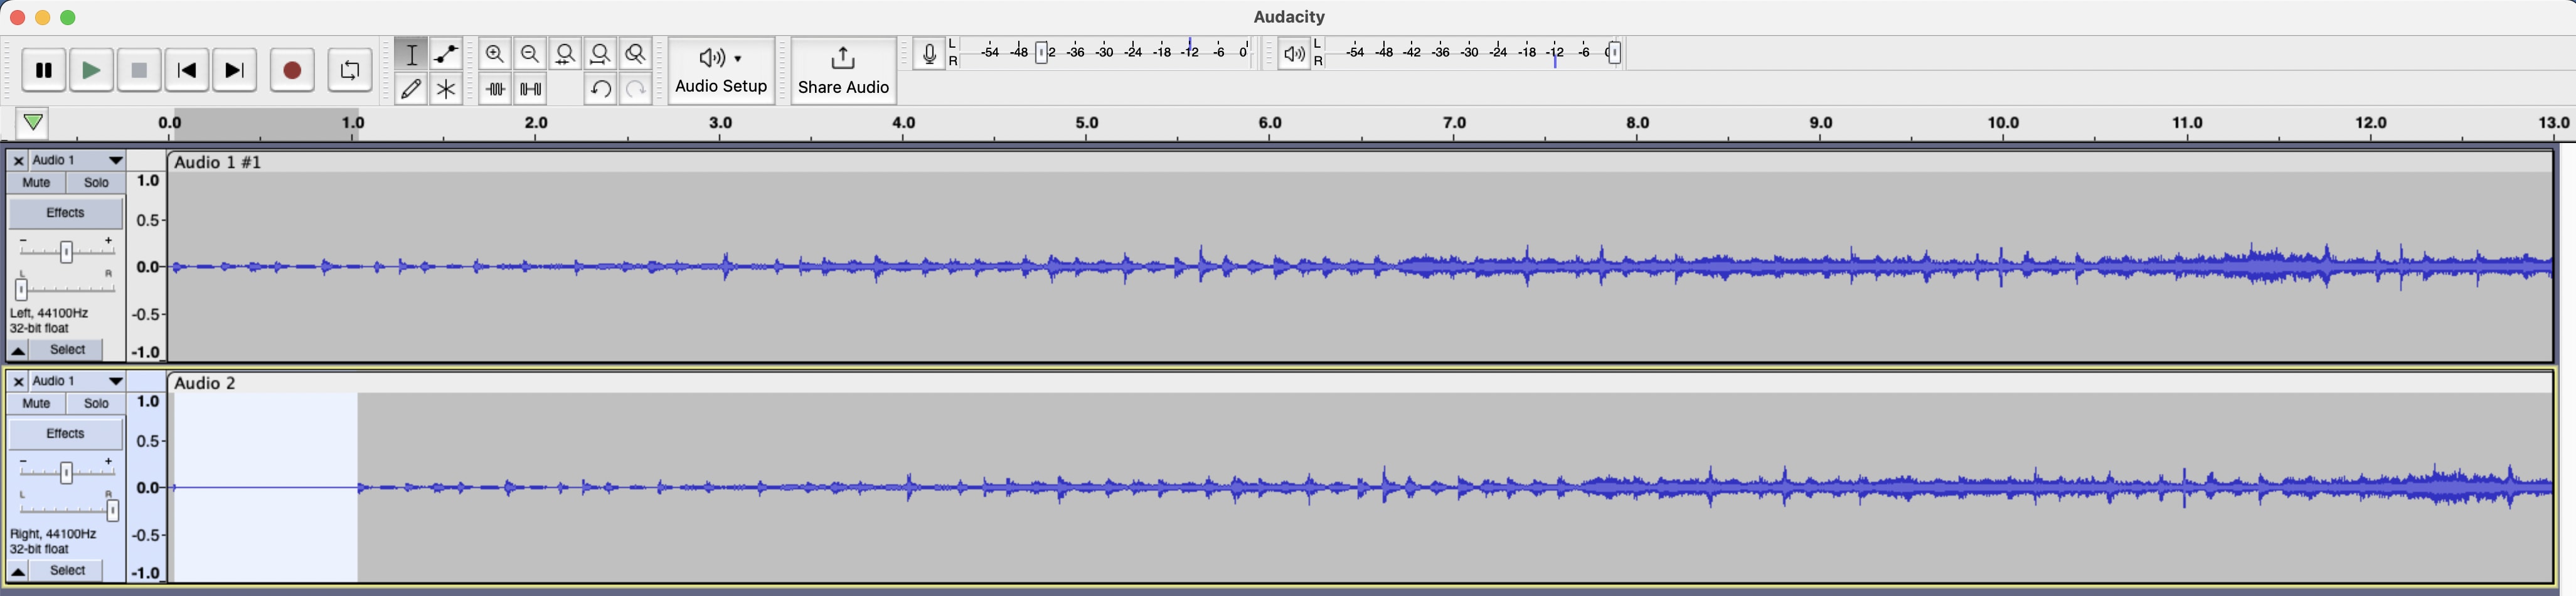
To create an overlap, copy and paste the channel with your sample audio, leaving you with two identical clips across two channels.
Set the audio effect of the first channel to the end L and set the other to the end R as shown in the following image;

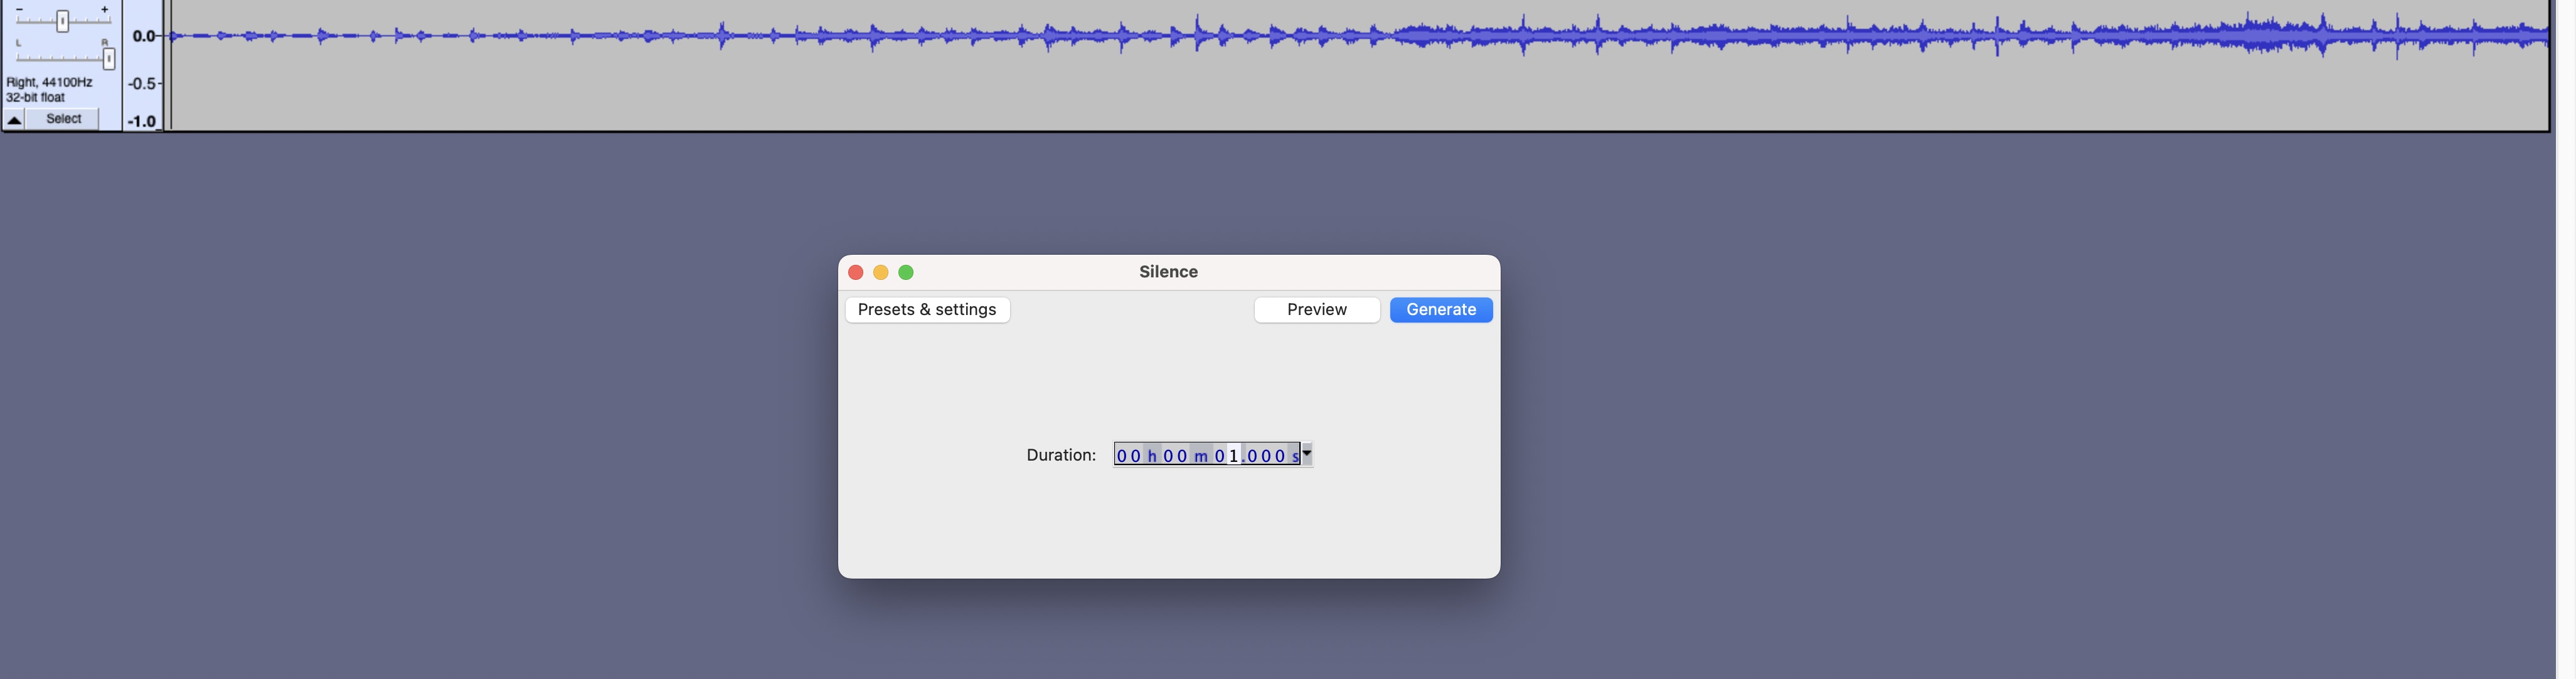
Click on the Generate option to add a silence into the second audio clip for the overlap.

Add a silence of 1 minute to the clip.
With the new silence added to the second channel, you will see the delay in the timeline;
Click the Export option to export this audio into an mp3 format.

Here is a copy of the audio file generated for this demonstration;
audacity-audio-result.mp3
Tutorial On Anaglyph
An amazing 60 seconds tutorial on creating anaglyphs with Photoshop synthesis is the one below;
Conclusion
During this lab, I learned about anaglyphs and how they work behind the scenes. I also put my knowledge into practice by adding the anaglyph effect to an image using Photoshop software and made the HaaS effect using Audacity.